
I’ve stood in a cold garage at 10 PM, flashlight in one hand and a damaged tire in the other, wondering if the boot someone slapped on it six months ago was still doing its job — or slowly becoming a liability. If you’re here, you’ve probably asked yourself the same question.
TL;DR:
A tire boot is a temporary internal reinforcement patch meant to get you home — not to last 10,000 miles. If your tire has one, you almost certainly need to inspect it properly, and in most cases, replace the tire entirely. This guide walks you through everything: what a tire boot actually is, how to identify one, when removal is necessary, and what your real options are going forward.
- What Is a Tire Boot, Exactly?
- Why Tire Boots Get Installed in the First Place
- How to Tell If Your Tire Has a Boot (Without Dismounting It)
- Is It Safe to Keep Driving on a Booted Tire?
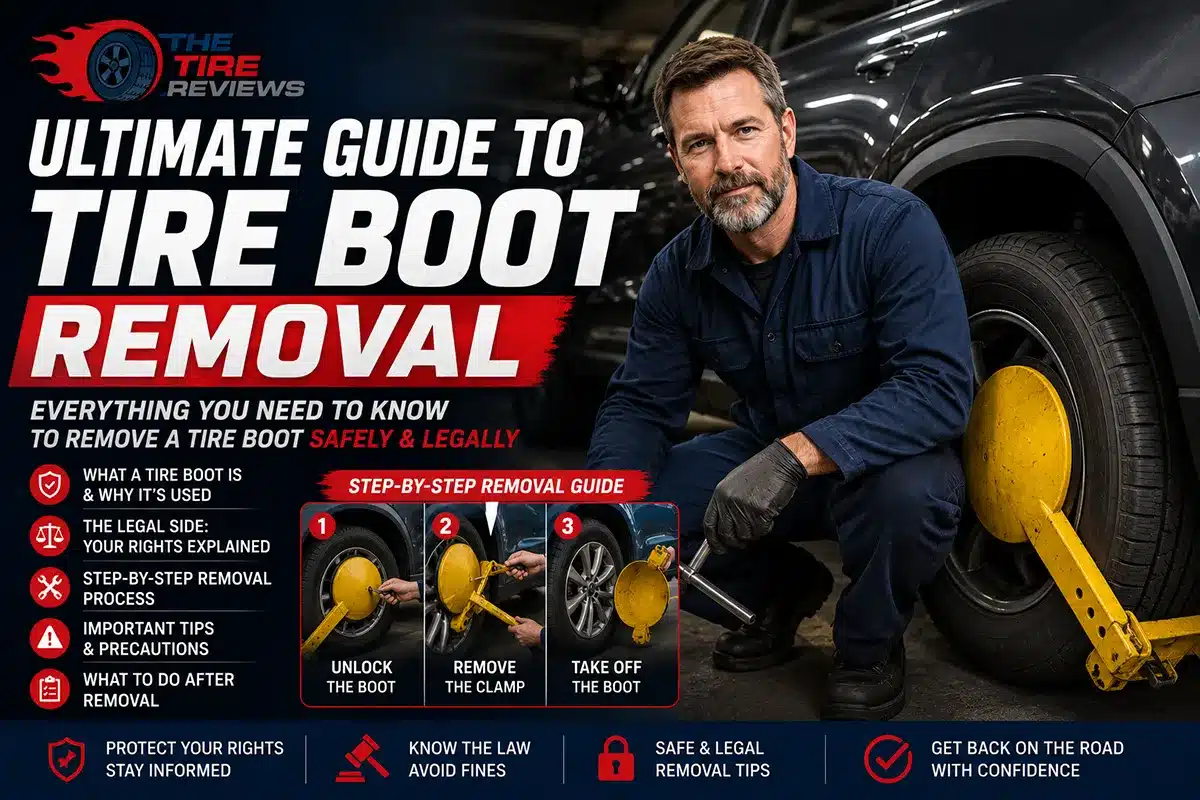
- The Tire Boot Removal Process (Step-by-Step)
- What You’ll Need (Shop Setting)
- Step 1: Deflate the Tire Completely
- Step 2: Break the Bead
- Step 3: Dismount the Tire from the Rim
- Step 4: Inspect the Interior Before Touching the Boot
- Step 5: Remove the Boot
- Step 6: Assess the Underlying Damage
- Step 7: Clean the Interior Liner
- Step 8: Make Your Decision and Act on It
- When a Boot Is Not Enough: Replacement Scenarios
- Tire Boot FAQs
- My Recommendation: Don’t Gamble on a Boot
- Related Reading
What Is a Tire Boot, Exactly?
Before we get into removal, let’s make sure we’re talking about the same thing. A tire boot (also called an internal boot or tire boot patch) is a thick piece of vulcanized rubber — usually 3–5 mm thick and roughly 6 to 8 inches wide — that a technician presses to the interior of a tire to temporarily cover a severe puncture, sidewall gash, or structural damage that goes beyond what a standard plug or patch can fix alone.
It is not a plug. It is not a patch. It is essentially a reinforcement layer — a short-term band-aid placed over damage that, in a perfect world, would mean the tire gets replaced immediately.
I first encountered one on a customer’s 2018 Honda CR-V during a rotation job. The owner had picked up a road screw that punched through the sidewall shoulder, and a roadside service technician had installed a boot to get her home safely.
She’d been driving on it for nearly four months. The tire looked fine from the outside — there was no visible bulge, no vibration — but when we dismounted it, the boot had started to peel at the edges and there was heat discoloration on the surrounding rubber. It was on borrowed time.
Tire Boot vs. Tire Patch vs. Tire Plug
Since these three terms get mixed up constantly, here’s a quick breakdown:
| Repair Type | Location | Damage Covered | Permanent? |
|---|---|---|---|
| Tire Plug | Tread, from outside | Small tread punctures (< 1/4 inch) | Sometimes (debated) |
| Tire Patch | Interior liner | Small tread punctures (< 1/4 inch) | Yes, if done correctly |
| Plug-Patch Combo | Interior + tread | Tread punctures up to 1/4 inch | Industry-recommended permanent fix |
| Tire Boot | Interior only | Large tread damage, shoulder damage, sidewall tears | No — temporary only |
The Rubber Manufacturers Association (RMA) and most tire manufacturers are clear: a tire boot is not an approved permanent repair method. It is explicitly intended to get a vehicle to a tire shop for replacement.
Why Tire Boots Get Installed in the First Place
Tire boots exist because real-world damage doesn’t always follow neat rules. Here’s when a technician might install one:
1. Sidewall or shoulder damage that a patch can’t cover alone Standard patches are designed for the tread area. The sidewall flexes with every rotation — a patch there simply isn’t built to handle that repetitive stress. A boot provides extra thickness and coverage to get through in an emergency.
2. Large or irregular tread punctures A nail in the tread center? That’s a plug-patch job. But a screw that’s torn a ragged 3/4-inch gash? A boot may be the only way to temporarily seal the interior and keep air in.
3. On-road emergency repairs AAA technicians, roadside assistance crews, and even some OEM emergency tire kits use boots because they can be applied quickly without a dismounting machine. Time matters on the side of a highway.
4. Temporary solution while waiting for a replacement tire to arrive Sometimes the right tire simply isn’t in stock. A boot buys time — typically 50 to 100 miles of gentle driving — until the correct replacement arrives.
How to Tell If Your Tire Has a Boot (Without Dismounting It)
Here’s the honest truth: you usually can’t tell from the outside. That’s what makes tire boots particularly tricky. The outside of the tire may look completely normal. No bulge, no visible damage — just a tire doing its job.
However, there are a few clues:
- Vibration at highway speeds — If there’s an unexplained shimmy, especially above 55 mph, internal unevenness from a boot can be the cause. It’s not always present, but it’s a red flag.
- Service records or purchase history — If you bought a used car, pull up the tire service history. A roadside repair entry should raise a flag.
- Ask the previous owner or your tire shop — Any reputable shop will document a boot installation. If they didn’t, that’s itself a concern.
- Dismount and inspect — This is the only way to be 100% certain. Have your tire shop pull the tire off the rim and shine a light inside.
I always recommend a visual interior inspection anytime you buy a used car with fewer than two years of tire life remaining. I’ve seen boots on tires that were otherwise presentation-perfect — shiny tread, good depth — but fundamentally unsafe.
Is It Safe to Keep Driving on a Booted Tire?
This is the question everyone wants answered, and I’ll give you a straight answer: it depends on how old the boot is, how far you’ve driven on it, and where the damage was.
Short-Term (Under 100 Miles, Tread Area, Recent Install)
If a boot was professionally installed in the last week, the damage was in the center tread zone, and you haven’t pushed the tire hard, you’re likely okay for a short period of low-speed driving — enough to get to a tire shop. Do not take it on the highway. Do not ignore it.
Medium-Term (100–500 Miles)
You’re now in risky territory. The boot adhesive can degrade. The rubber around the boot has been flexing repeatedly. I’ve seen boots start to lift at the edges around the 200-mile mark if the tire has seen any highway speeds.
Long-Term (500+ Miles or Unknown Duration)
Replace the tire. Full stop. At this point, the boot is more of a false sense of security than actual protection. The tire’s structural integrity is compromised, and you’re one pothole away from a blowout.
Sidewall boot = immediate replacement. There is no safe driving window on a sidewall-booted tire beyond a slow, careful crawl to your nearest shop. The sidewall bears the full weight load of the vehicle through every flex cycle. A compromised sidewall can fail suddenly, violently, and without warning.
The Tire Boot Removal Process (Step-by-Step)
Let me walk you through what actually happens when a tire boot is removed — whether you’re doing it yourself in a well-equipped garage or overseeing it at a shop.
⚠️ Important: Tire boot removal requires a tire mounting/dismounting machine and bead breaker. This is not a driveway job. If you don’t have shop equipment, take it to a tire professional.
What You’ll Need (Shop Setting)
- Tire mounting/dismounting machine
- Bead breaker or tire spoon set
- Valve core removal tool
- Penetrating adhesive remover (like 3M General Purpose Adhesive Cleaner)
- Plastic scraper or wooden shim (not metal — you’ll damage the bead)
- Clean rag and inspection light
Step 1: Deflate the Tire Completely
Remove the valve core and allow all air to escape. Don’t skip this — a partially inflated tire can be dangerous during dismounting.
Step 2: Break the Bead
Use your bead breaker to unseat the tire from the rim on both sides. The bead is the rubber lip that locks against the wheel. Breaking it allows the tire to be pulled free.
Step 3: Dismount the Tire from the Rim
Using the mounting machine or tire spoons (technique matters here — forcing it will damage the bead), work the tire off one side of the rim, then remove it completely.
Step 4: Inspect the Interior Before Touching the Boot
Shine your inspection light inside. Look at the boot’s condition:
- Is it still fully adhered with no edge lifting?
- Is there any heat discoloration around the boot (yellowing or browning of the rubber)?
- Is the boot cracked, stiff, or delaminating?
- Is there any moisture or rust visible on the rim bead area?
Document what you see. If this is going to an insurance claim or a dispute with a prior shop, photos are essential.
Step 5: Remove the Boot
Starting at one edge, work your plastic scraper or wooden shim underneath the boot and apply gentle leverage while pulling. In most cases, the boot will peel free. If it’s been vulcanized with cement (properly installed), it will be more resistant.
Apply penetrating adhesive remover at the edges and allow it to dwell for 60–90 seconds before continuing. Don’t rush this — tearing the boot improperly can pull away interior liner material, which makes the underlying damage assessment harder.
Step 6: Assess the Underlying Damage
With the boot removed, inspect the original damage:
- What is the size of the puncture or tear?
- Is it in the tread center, tread shoulder, or sidewall?
- Is there any cord damage visible? (White or yellow fibers exposed = compromised structural integrity)
- Is there any rust, moisture intrusion, or bead damage?
Use this table as a rough guide:
| Damage Location | Damage Size | Next Step |
|---|---|---|
| Tread center | Under 1/4 inch | Plug-patch combo (permanent repair) |
| Tread center | 1/4 to 3/4 inch | Replace tire |
| Tread shoulder | Any size | Replace tire |
| Sidewall | Any size | Replace tire immediately |
| Bead area | Any size | Replace tire immediately |
Step 7: Clean the Interior Liner
Whether you’re repairing or replacing, clean the interior liner surface with adhesive remover and a clean cloth to remove any residue, dust, or moisture introduced by the boot.
Step 8: Make Your Decision and Act on It
If the damage qualifies for a permanent plug-patch repair, have it done now by a qualified technician. If the damage is outside those parameters — and it usually is, since that’s why a boot was installed in the first place — replace the tire.
When a Boot Is Not Enough: Replacement Scenarios
I want to be direct here because I see too many people looking for the cheapest way out of a situation that really requires just replacing the tire.
Replace the tire if any of the following are true:
- The damage is in the sidewall or shoulder, regardless of size
- The original puncture is larger than 1/4 inch in diameter
- The tire has visible cord damage (fabric layers showing through the rubber)
- The boot has been on the tire for more than 100 miles of highway driving
- You don’t know how long the boot has been installed
- The tire is already low on tread depth (below 4/32 inch)
- The tire is more than six years old (check the DOT date code)
- There’s moisture, rust, or bead damage visible after boot removal
I know a new tire isn’t a cheap proposition. But a blowout at 70 mph on an overworked booted tire is an infinitely worse scenario — financially, physically, and legally if other people are involved.
A Real-World Cost Comparison
| Option | Typical Cost | Longevity | Safety Rating |
|---|---|---|---|
| Keeping the boot (doing nothing) | $0 | Unpredictable — hours to weeks | Poor |
| Plug-patch combo (if damage qualifies) | $20–$40 | Full remaining tread life | Good (tread only) |
| New budget replacement tire (e.g., 205/55R16) | $70–$110 + mount/balance | 40,000–50,000 miles | Excellent |
| New mid-range replacement tire | $110–$160 + mount/balance | 55,000–70,000 miles | Excellent |
When I put it this way to customers, the math tends to settle the debate quickly.
Tire Boot FAQs
Can I install a tire boot myself?
Technically, pre-made emergency tire boots (like the ones from Safety Seal or Dynaplug) are designed for field use and can be applied without a mounting machine. However, these are emergency-use-only products and should not be treated as repairs. A self-applied boot should be followed by a professional inspection and likely a tire replacement.
How long can you drive on a tire boot?
The honest answer: as short a distance as possible. Most manufacturers and repair guidelines cite 50–100 miles at reduced speeds (under 50 mph) as the outer limit. This is to get to a shop — not to run errands for two weeks.
Does a tire boot void my tire warranty?
Yes, in virtually every case. Tire warranties cover manufacturer defects, not road hazard damage or unauthorized repairs. A boot is specifically excluded under most warranty terms.
Can a tire be repaired after a boot is removed?
It depends entirely on the underlying damage. If the damage is a small tread-center puncture (under 1/4 inch), a permanent plug-patch is still possible. If the damage is anything beyond that, the tire needs to be replaced.
What’s the difference between a tire boot and a run-flat tire?
Completely different technologies. Run-flat tires have reinforced sidewall construction built into the tire at the factory — they’re designed to operate for a limited distance (usually 50 miles at 50 mph) after losing air pressure. A tire boot is a field repair on a conventional tire. The two are not interchangeable.
Should I trust a used car with a booted tire?
I’d negotiate the price down and replace the tire before driving the car home. Non-negotiable for me. The unknown history of a boot is too much risk.
Can tire shops legally refuse to mount a booted tire?
Yes, and many will. Reputable shops follow industry standards from the RMA and Tire Industry Association (TIA). If a technician determines a tire is unfit for safe use, they’re within their rights — and arguably their professional obligation — to decline mounting it.
My Recommendation: Don’t Gamble on a Boot
I’ve inspected a lot of tires over the years. The ones that made me the most nervous weren’t the obviously shredded ones — those are easy calls. It’s the ones that look almost fine.
The boot that’s 90% intact. The tire that passes a quick squeeze test. The one that’s “probably okay for a few more weeks.”
A tire boot is a bridge repair. It bridges the gap between an emergency and a proper fix. Once you’re across that bridge, don’t keep using it as a road.
If you’ve read this guide and realized your tire has a boot on it — or you’re shopping a used car that might — get it inspected by a shop that will dismount and physically look inside the tire. It takes about 20 minutes and takes all the guesswork out of the equation.
And if the verdict is replacement? Check out some of the tire comparison guides on this site. For most commuter vehicles, you don’t need to spend a fortune to get a safe, reliable tire. A solid mid-range option will outperform a compromised tire in every measurable way.
Drive safe.
Related Reading
- How to Read a Tire Sidewall
- Tire Patch vs. Plug vs. Plug-Patch
- How Long Do Tires Really Last
- Best All-Season Tires for Sedans
Last updated: May 2026 | Reviewed for accuracy against current RMA and TIA repair standards.